*Disclosure: I partnered with Target and Stylinity for this post, however all opinions are my own.
Holy hiatus, Batman! It’s been nearly a month since I wrote a post on my blog. Goodness! So much has happened! A lot of it you can see on Instagram. I’ll try to update you with the rest in upcoming posts. For now, I want to share with you what I gave myself for Mother’s Day: A front door makeover!
Aside from fashion, a clean and somewhat nicely decorated home makes me super happy. With two kids in the house and a hubs with a crazy work schedule, the “clean and somewhat nicely decorated” part hasn’t happened. So, this was my attempt to get the “nicely decorated” ball rolling.
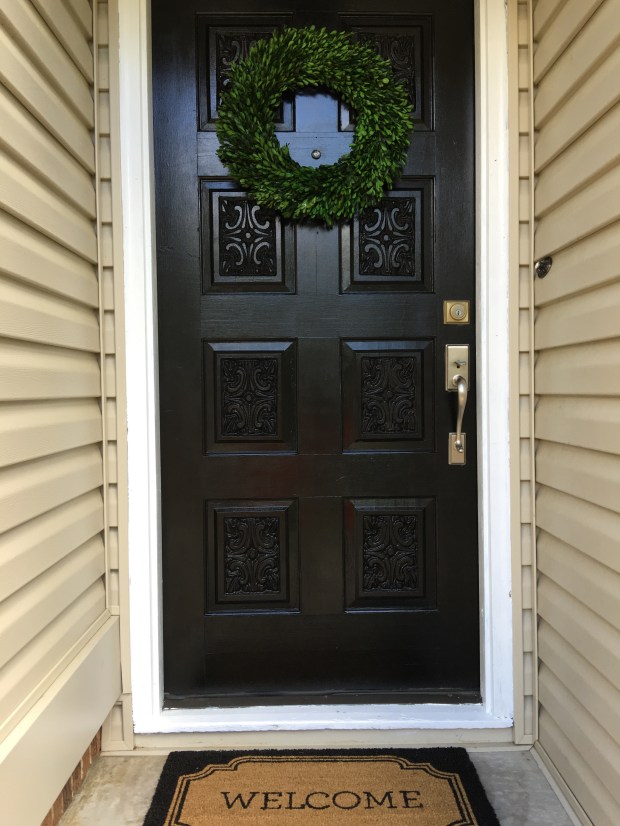
I’ve had a slight obsession with boxwood recently and recently stalked this boxwood wreath on the Target website. They never seemed to have it in store when I went, so I finally went ahead and ordered it.
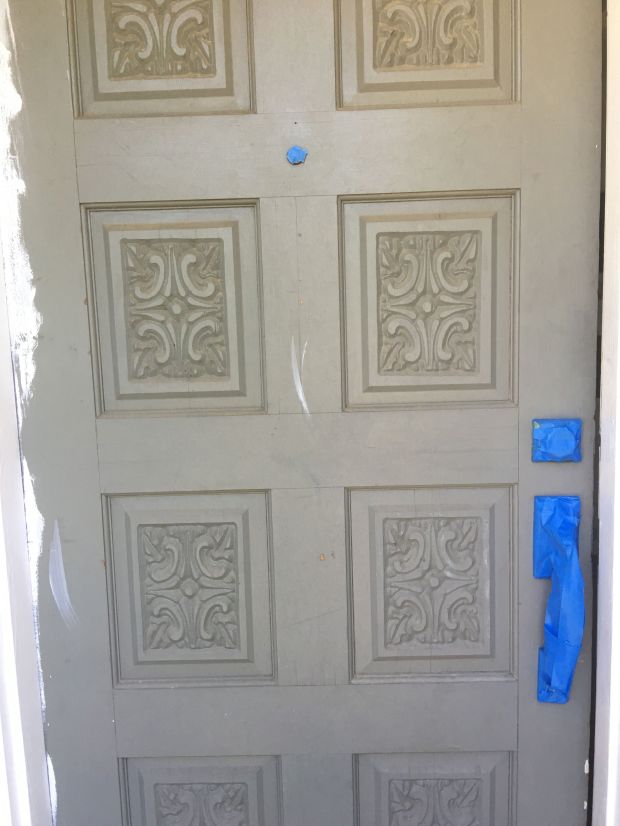
Next step was prepping the door for its transformation. This was the door before doing anything to it:

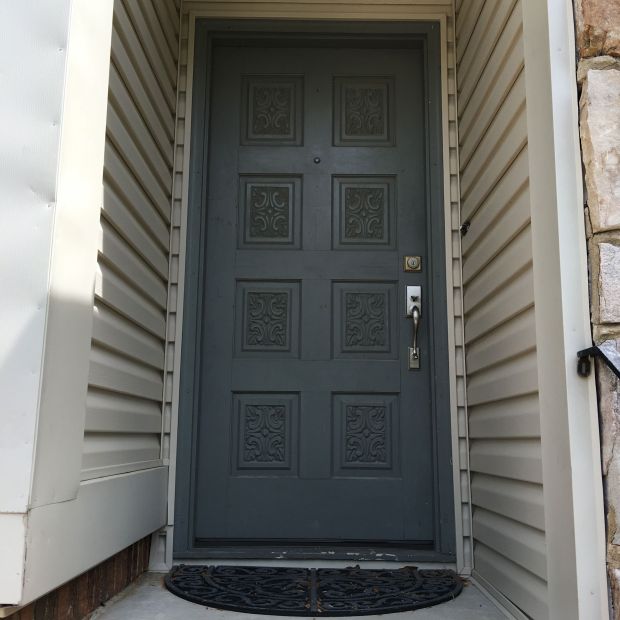
Not too shabby, but a bit on the dilapidated side. Let’s face it – it needed a make over. So, off I went to Home Depot to find the paint. The selection was limited, but I ended up finding a nice black gloss paint that I thought would do the job. I also picked up a small roller and a brush with a small handle.

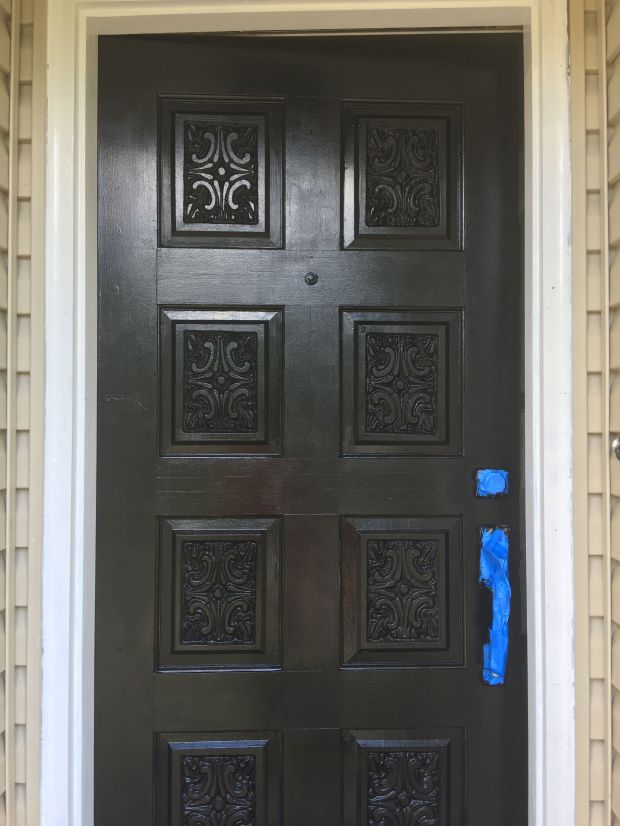
We already had white paint, brushes, and tape at home, so I started with the trim; which I painted a bright white so as to make the door “pop”. I also taped the door handle prior to applying the black paint.
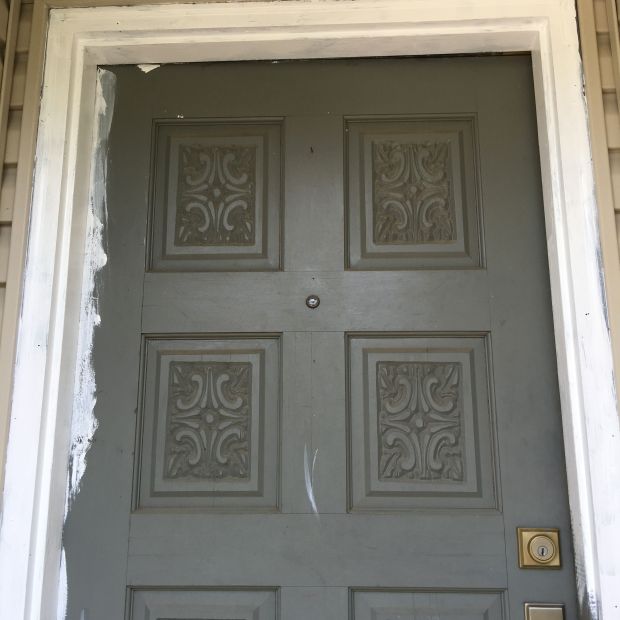

Then came the fun part! The transformation. I took about a third of the paint in the paint can and poured it into a hand-held plastic container. I first hand-brushed paint on the entire door, focusing on getting the entire inside of each of the six panels. I then followed with a second coat over the entire door with a small roller.
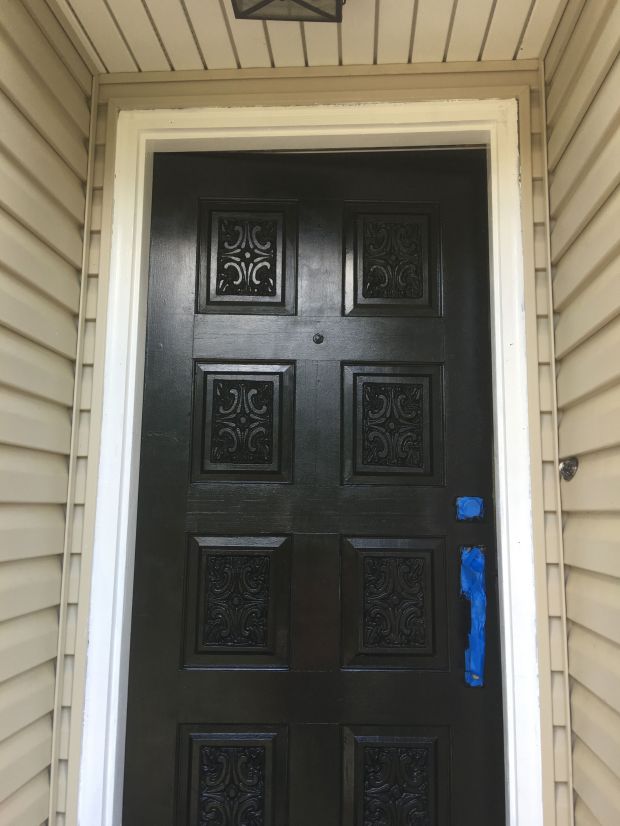

It took longer to dry than it did to paint it! The process was fairly painless and super easy. I also picked up a new floor mat, so when it was all said it done, I had a brand new door and front-door decor!


The white trim can use a second coat upon hubby’s closer inspection, but otherwise, I’m super happy with the result. Obviously this involved work on my part, but it took a total of three hours total (at most, not including drying time) and was relatively inexpensive! Here’s a breakdown of what I purchased:
Paint for door: $8 for black gloss paint
Brushes, trim paint, and tape: Free from previous jobs at home (took back the ones I bought)
Total cost: $71
Shop all the products here.
*To save a little extra money with some Target coupons, click here!
This is a DIY you can attempt on your own and perhaps surprise mom with, OR, you could gift her a basket which includes all the brushes/paint/roller/materials and wreath and DIY with her to spend some quality time together! Either way, I think it would make an excellent gift, and something that is somewhat unique too. Dontcha think?!

Hubs and I have talked about a bedroom, basement, and closet/office makeover, so stay tuned for those! In the meantime, I wish all you mama’s out there an amazing Mother’s Day and to those of you who are not mama’s, wishing you a lovely time with the mother or mother figure in your life.
Until next time! Stay ‘Chic’!
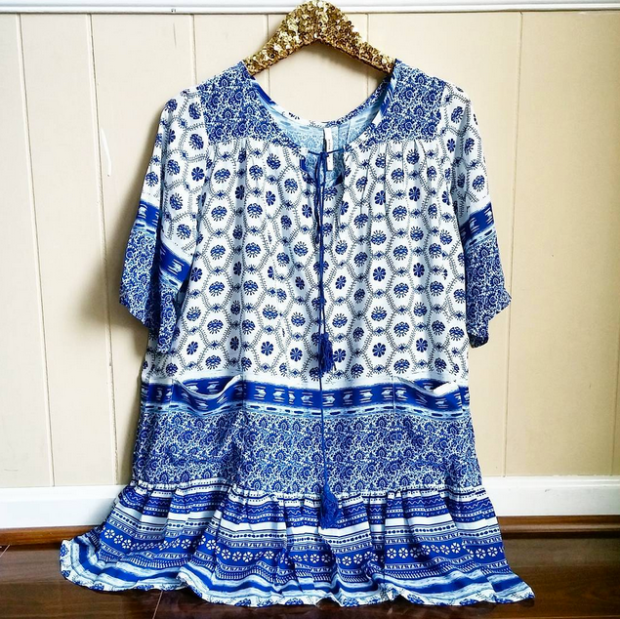
 Dress:
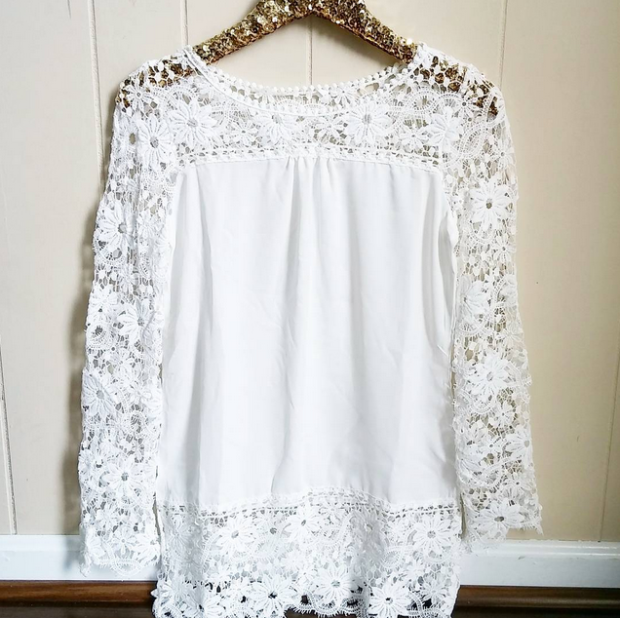