Fall-ing for Living Proof

Disclosure:  I partnered with Living Proof for this post, however all opinions are my own.

Fall appears to be transitioning rather slowly this year.  This past week, my city has experienced temps in the 80’s!!  It may therefore come as no surprise that my hair is having a field day and attempting to run amuck.  Thankfully, I now have Living Proof to help avert my hair crises!  I have officially ‘Fall’-en in love with Living Proof.

Many of you already know that I have a PhD.  So it should come as no surprise that I instantly gravitated towards Living Proof’s new line of hair products – PHD (aka Perfect Hair Day)!  I first received a sample of the PHD Overnight cap and loved it.  So when I was asked to sample other items from their line, I enthusiastically agreed!

My hair tends to be super frizzy.  I am NOT the wash-n-go type.  I am the wash, dry for an hour, style for an hour, then tame with products for another hour, type.  Sigh.  I’m exhausted just thinking about it.  Which is why – if you ever see in me in person – my hair is usually up in a bun.  It’s bad.  But, good!  But also, bad.  Cue Living Proof and their amazing hair-taming products!

Living Proof , http://chicinacademia.com

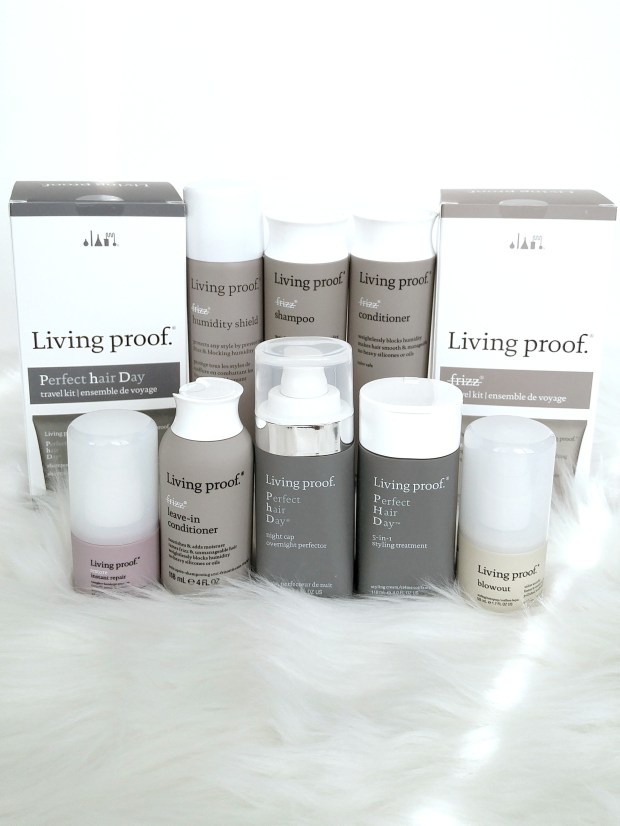
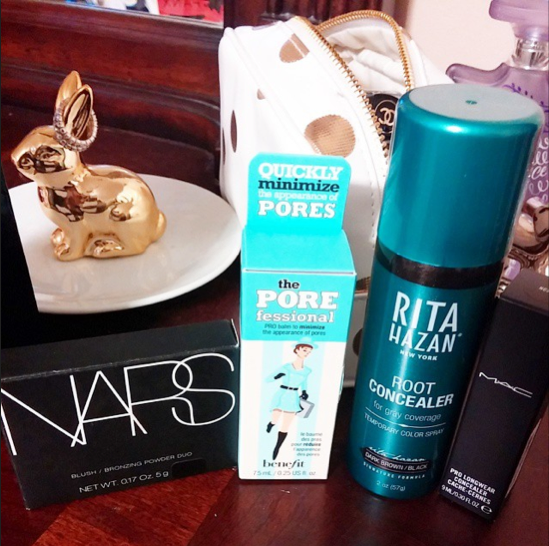
As you can see, I selected many of the Living Proof frizz products, as well as the Perfect Hair Day products.  I used their Product Selector Tool to help me decide what products to get.  I had already tried their PHD Overnight Cap before using the tool, though, so I knew that would be a must this time around as well.  The Product Selector Tool also recommended the Living Proof frizz products, which in combination with the PHD products, have been major game changers for my hair.

Below is a photo of my hair with another product; which at the time, I thought, was taming my hair.  In retrospect, I have realized that it in fact simply weighed down my hair, and by the second day, made it somewhat greasy. No bueno.

Exhibit A:

hair, http://chicinacademia.com

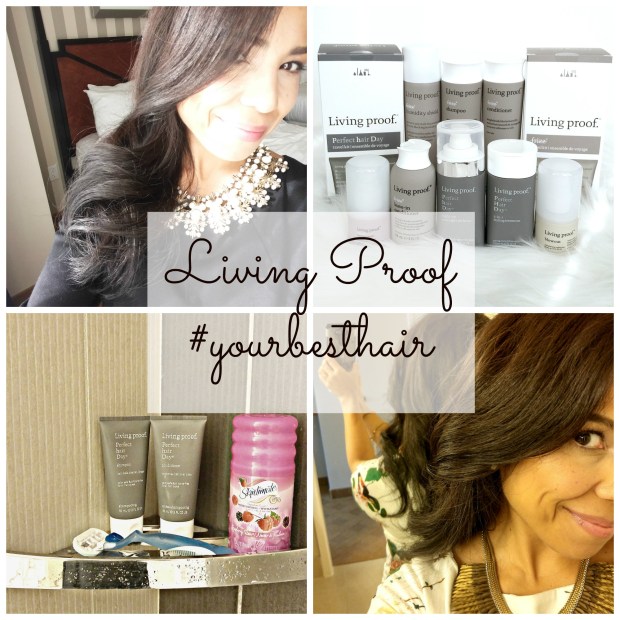
The biggest difference I noticed with the use of the Living Proof Products, was that my hair was not frizzy, felt soft and not ‘dry’, and smelled fragrantly delicious.  Check out two photos I took after using Living Proof products:

Living Proof , http://chicinacademia.com

Living Proof , http://chicinacademia.com

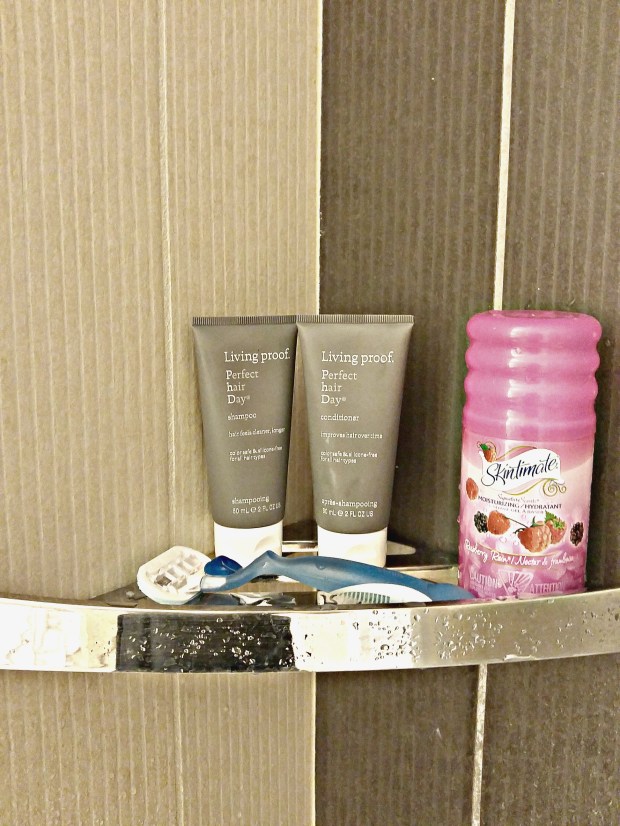
Both these photos were taken while traveling for work and one of the great things that made these hair styles possible was the availability of Living Proof Travel packs!  I sampled both the PHD and the frizz travel packs.  They were heaven sent since I often use whatever the hotel provides and often end up wearing my hair up in a bun or slicked-back with hair spray because my hair becomes untame-able.

Living Proof , http://chicinacademia.com

I’m seriously in love with this line.  It is the first line that preserved my volume, all while eliminating frizz and making my hair smell freshly-washed!  I love that my hair looks like it does not have hair product in it.  I also noticed that I didn’t have icky residue on my hands after applying it to my hair.  Have you noticed that when applying product to your hair, you often have to wash your hands??  well, not with these Living Proof products!  That makes then extra spectacular in my opinion.  They have truly made me achieve my #besthair.  I’m certain it will help you achieve #yourbesthair too!!!  Part of what makes them such an amazingly functional hair care line is – wait for it…here’s the science!! – the combination of two major hair discoveries (following text from LivingProof.com):

Hair Discovery #1:OFPMA

OFPMA is a superior way to care for and style hair; better than any of the conventional technologies that exist in the market, like silicone and oils.

This molecule creates athin, invisible shield around every hair strand. With this shield:

  • hair becomes healthier over time
  • hair is strengthened and protected from daily assaults like brushing and washing
  • hair balances the flow of moisture in and out of strands, so damaging moisture flux is controlled
  • hair fights off humidity, so frizz is stopped in its tracks
  • hair repels oil and dirt so it stays cleaner, longer
  • hair texture is polished into a smooth, glossy lustre

Hair Discovery #2:PBAE

This tiny molecule does big things. Literally. PBAE creates a micropattern of thickening dots on every hair strand, making hair look and behave like textured, full, thick hair.

To understand the power of the PBAE technology, it’s helpful to first understand the root cause of flat hair. It only takes two words: No Friction. Flat hair simply has no friction. The hair strands are so fine and smooth that they lie flat on top of each other. The way conventional texturizers and volumizers work is by trying to create friction…but in two very ineffective ways. They either use damaging chemicals that lift the hair’s cuticle so the strands don’t lie flat against each other, or add glue-like resins that build up on hair, making it feel stiff and unnatural and fall flat fast.

PBAE’s microscopic pattern of thickening dots sit on the surface of the hair, creating the much needed friction and space between every fine hair strand without any of the damage or baggage of conventional technologies. These thickening dots have endurance and don’t break down, even as you run your fingers through your locks, making fullness completely revivable and renewable.

With PBAE:

  • Hair behaves like full, thick hair with body and volume
  • Hair has volume and texture that is revivable and long lasting

Together, these hair discoveries help make Living Proof products the leader in hair makeovers!  So, give them a try!!  I have honestly fallen in love with them and am already fearful that I will run out of product WAY faster than I anticipated, simply because I am using them all so much.  I plan to try the STRAIGHT products next, but for now, I’m enjoying the frizz-free, voluminous styles that the PHD and  Living Proof frizz products are allowing me to achieve!

LP Collage, http://chicinacademia.com

Until next time!  Stay ‘Chic’!

The 10-minute Mani

One of the biggest obstacles to giving myself regular manicures at home used to be the drying time.  As a working mama, I usually end up doing my nails around 10pm in the evening, not long before I’m ready to pass out and smudge my fresh mani all over my sheets.  Ugh.  So, that was all resolved when I found and tried the Sally Hansen Insta-Dri top coat.

Sally Hansen Insta Dri, http://chicinacademia.comSally Hansen Insta-Dri, ~$4 (Photo: Chic in Academia)

The mani above was done late at night (wearing Revlon’s Vixen), and was dry within 5 minutes of applying polish to my last nail! A total 10-minutes spent doing my nails.  AH-maze-ING.

Another one of my secrets for a successful manicure is the use of a product I would have never imagined using for my mani’s: The Honest Company’s Healing Balm.

Honest Company Healing Balm, http://chicinacademia.comThe Honest Company Healing Balm, ~$12 (Photo: Chic in Academia)

It belongs to my 18-month old, so I usually tote it along with his diapers and wipes.  In the absence of my usual hand lotion one day, I decided to use this instead and noticed that it absorbed really well, wasn’t super greasy, and kept my cuticles super soft!  So, now I use it before cutting my cuticles, and then often to keep my hands soft and non-ashy or dry. 😉

Finally, I can’t end this post without telling you about my two favorite polishes.  I am, by default, a red-polish wearer.  It works well against my olive-toned skin and is simply a classic, timeless color.  My FAVORITE of all-time is the Deborah Lippmann “Lady is a Tramp” pictured below:

Deborah Lippman "Lady is a Tramp", http://chicinacademia.comDeborah Lippmann Nail Polish, $18 (Photo: Chic in Academia)

A second Deborah Lippmann favorite is “It’s Raining Men”. Both great red hues.

Another favorite is a great color all-year round, in my opinion.  I purchased this one pictured below at Gus Mayer in Birmingham, AL last summer, and have loved it since.

Chanel Eastern Light, http://chicinacademia.comChanel “Eastern Light”, $27 (Photo: Chic in Academia)

White or light-colored polishes can be tricky to apply, and can often end up looking streaky on one’s nails.  Or, if too ‘white’, appear like you applied Wite-Out to your nails!  No bueno.  This one goes on smoothly and only requires two coats to look perfect.  The Sally Hansen Insta-Dri also works well over it because it’s a clear top coat.

Now, I realize the polishes I have mentioned are all über expensive.  Mind you, they are not polishes I buy every week.  I *maybe* buy one every year, but will typically put them on gift wish-lists for my birthday and Christmas.  That’s how I received the Deborah Lippmann polish!  My mother-in-law was super thoughtful and bought one for me after reading that it was one of my faves in one of my very first Chic in Academia blog posts.

When I DO purchase frequently, or purchase a color that I’m uncertain of, I stick to Sinful polishes.

Sinful Nail Polish, http://chicinacademia.comSinful Nail Polish, $2 (Photo: Walgreens.com)

At $2 a bottle, you can feel free to try on new colors, without feeling guilty for spending an exorbitant amount on a single bottle.  My favorite red from the Sinful line is “Go Go Girl”.  Simply love it.

Anyhow, don’t you love how deep this post was??!  You must wonder, on occasion (or perhaps always, haha!), why I limit my posts for Chic in Academia to fun and frilly topics.  Well, part of the reason I do is because it’s my form of brain candy.  It’s fun and boosts my endorphins!  Seriously though, I have contemplated writing some ‘academia’ themed posts like “What to look for in a mentor”, “How to maintain work-life balance”, and “Things I learned as a graduate student/postdoc”.  So, if there is enough interest, I will write them and others!  But for now, I will continue to provide you with fun posts like these.  “Let them all [read brain candy]!! 🙂

Until next time!  Stay chic!

Getting old is for…ME??

Ugh.  I found grey hair on my head.  It used to just be the one or two.  I knew where they were.  I denied their existence and continued with my youthful life until one day about a month or two ago, I found them.  No longer the 1-2 weeds.  No.  This time, there was a FOREST.  A gaggle of them.  Hiding in the depths of my mane.

SATC Grey Hair Scene

Photo: Pinterest

So, I did what any other woman in my situation would do.  I cried.  No, really, I didn’t.  But it did make me feel quite sad.  For someone who has been confused with a 15-year old most of her life due to less than average stature, having grey hair pretty much eliminates any doubt about my age.  I’m old!  Cue sobs.  Loud ones.

Thankfully, my forest of greys is rooted on the right side of my head.  So for now, I just part my hair to the other side! 🙂  Always best to see the glass half full, right??  But, I know that won’t hold them off forever; them being the greys.  In fact, even when I try to style my hair in my default hairstyle – aka topknot/bun – the greys are evident.  So, I have found some temporary solutions that I thought some of you might find useful should you be in the same predicament I find myself in.  This is what I like to call ‘Operation Hide Greys’:

1) Mascara – Not just for tinting lashes.  This magic wand also covers greys!!  Yes!  In fact, when traveling last fall, I was caught off guard and noticed the patch of greys.  So I took the mascara brush and lightly brushed over the area that contained the grey hairs.  Voila!  Greys were masked!  Temporarily of course, but it gave me some peace of mind.  I only use Diorshow Blackout, pictured below, which on my hair, worked wonderfully.  If you have blonde hair, using mascara might not be the best solution.  So, read option 2 below.

diorshow

Photo:  Nordstrom.com

2) Root concealer – If mascara is not a great option for you, perhaps root concealer is!  Mascara is great, but I want to save it for my lashes and not waste it on my hair.  So, I looked for alternate solutions.  This time, I took to Sephora and found this Rita Hazzan Root Concealer spray.

Rita Hazan Root Spray // http://chicinacademia.comSephora Haul, http://chicinacademia.com

Photos: First (Sephora.com) and second (Chic in Academia)

As you can see, I also picked up some other goodies that day.  Let me know if you want my review on any of the other products pictured above.  I’ll plan a separate post for that if there is enough interest!  Anyway, the root concealing spray comes in a variety of shades, but I settled on the ‘Dark Brown/Black’ spray.  For me, it proved to be a perfect match!  The other shades include Light Brown, Red, Dark Blonde, and Blonde.

Rita Hazan Root Spray Shades // http://chicinacademia.comI realize that it’s probably not long before I’ll have to start dying my hair – if I choose to dye it at all – but for now, I’ll stick to these temporary fixes.  I’d love to hear about what tactics you use to hide your greys.  Please share them with me!!  Nobody seems to talk about this stuff, so someone like me is faced with fear and shock and denial and incompetence!  Help a sister out for goodness sake!   Share your secrets!!  Seriously though, in light of the fact that I am now a grey-concealing ninja, I also contemplated putting together a video to show you how I use these products.  Leave me a comment below if you think you might be interested in that at all.

Otherwise, I continue to enjoy keeping up with you on Instagram, Twitter, and Pinterest!  Finally, if you happen to follow me on Pinterest, you know that I’m hosting a J Crew giveaway along with some other awesome bloggers.  Check it out!  You might just get lucky and win the pot!!

Until next time!  Stay chic!

Blogger Giveaway Loop